
I'm sort of in that boat for my clamp collection. But I wanted to at least get my clamps into the same wallspace, and somewhat organized, so I didn't have a few clamps here and there.
First I start with the prep work/design. I measured out the thickness of the bars of my clamps, worked out the spacing front to back, and side to side. Then it came down to marking out where the brace pieces would be, where the studs were, and put that all together into a design.
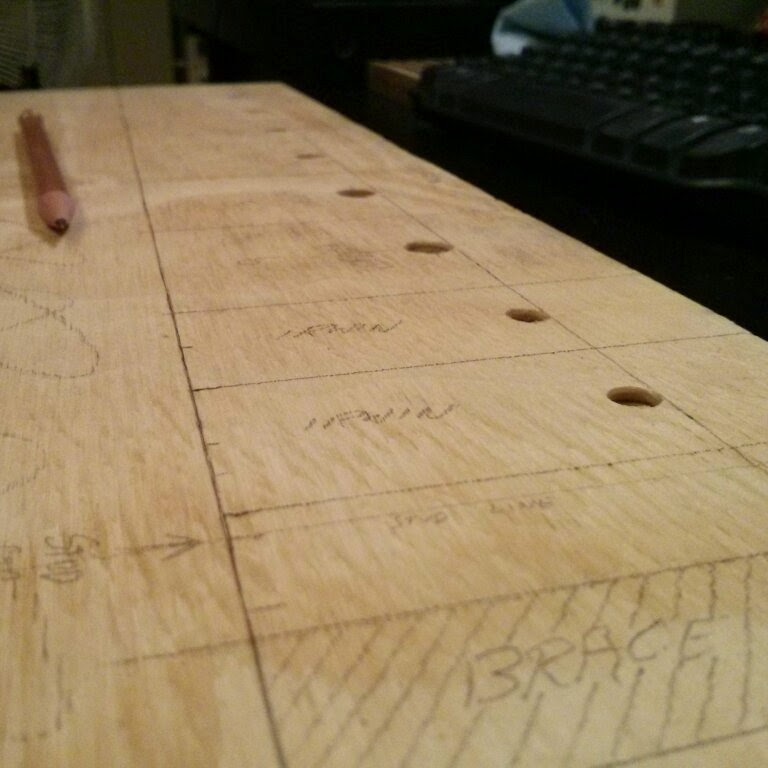
(Above: Having a good game plan will help you in the long run)

After working out the rough design, it was time to break out the forstner bits and make some holes. Once those were drilled, I took my board (which was scrap/leftover plywood) and took it outside to make more cuts. It was too wide and too deep, so a visit with mister circular saw and captain jigsaw, it was brought down to its final size.

Once I had it cut down to a more manageable size, I pulled out my Japanese pull-saw, and got to work cutting the grooves for the clamps. Now, I could have used my jigsaw, but I wanted practice with the hand saw, and I could be a lot more cautious with my cuts. And accurate too, I suppose.

Many minutes of cutting later, and I had the clamp grooves all finished.

Then I moved on to cutting the back piece, and the support braces. I opted for 4 instead of the original 2 that I had planned, and then pre-drilled all the holes I needed to get everything mounted. After that came sanding everything smooth, first with 80 grit, then with 150. I'm not going to make it any smoother, since it's just cheap plywood, and I'm not bothering with a finish.

(Above: My inner OCD kicked in a bit.)
Pre-drilling was a good idea, as it made the glue-up a lot easier. I just had to glue the seams, put the part in place, and screw it tight. No bother with clamps. Nice and simple.


And finally, after clearing some space and reorganizing the planned area for the rack... I mounted it up with some long 'washer-screws' and hung my clamps. For a relatively quick project, I am very happy with the result. AND I left room for 2 more Bessey clamps. ;)

Thanks for reading, I hope you enjoyed this project, and feel free to comment if you have any questions!
-Nelson